Canon laser printers are designed for multi-platform uses, and can handle a wide range of documents from simple text to complicated graphics. The life of your laser toner cartridge varies, depending on how much printing you do, how often you do printing, and how many graphics you are producing. Generally speaking, if you find your printer not generating high quality printouts, or any text or parts of your documents are faded, you need to remove your toner cartridge and replace with a new one. Refer to the following tips on how to remove toner cartridge from Canon printer and then replace with a new one.
Step 1: Access the Old Cartridge
Lift the operation panel and open the toner cover by the grip at the front right of the toner cover. Grasp the printer’s cover plate on both ends and pull. The cover is normally located on the front of the machine.
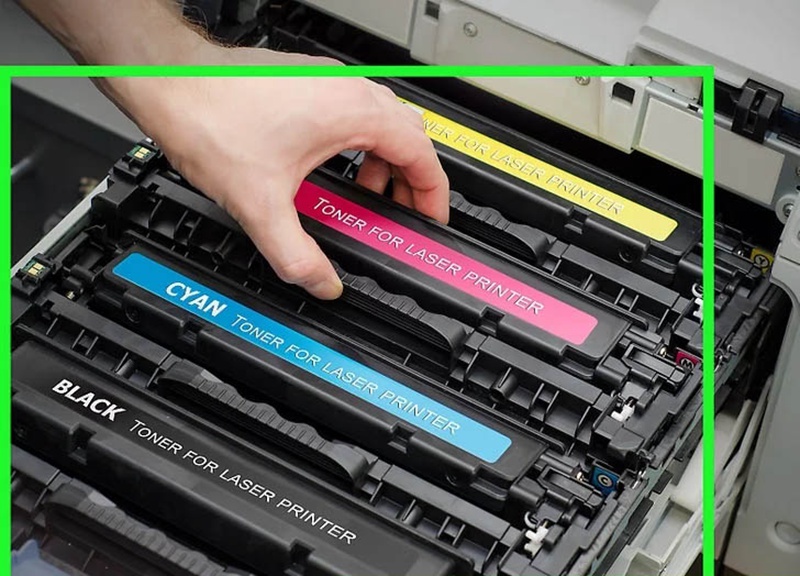
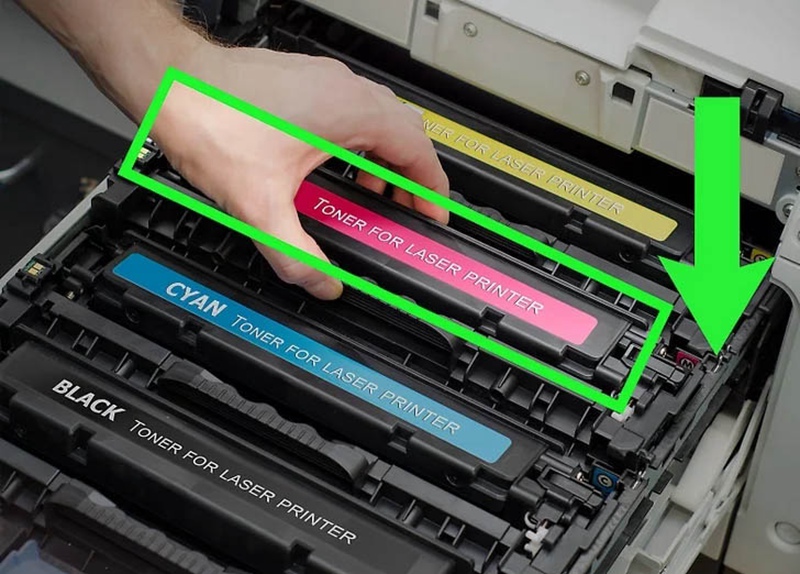
Step 2: Remove the Toner Cartridge
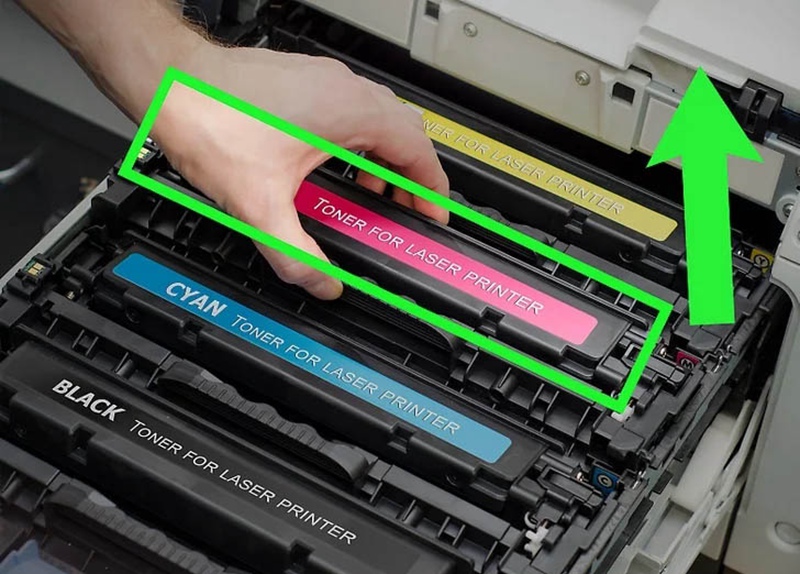
The old toner cartridge is barrel shaped and sits right in the housing unit. Grasp the handle of the old toner cartridge and pull it up and out. Slide the toner cartridge out, and be careful to keep it in a horizontal position to avoid any leakage.
Step 3: Unwrap New Toner Cartridge
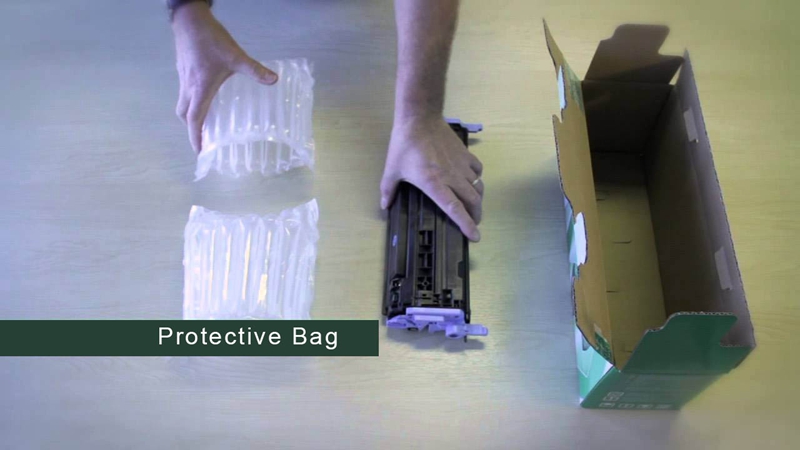
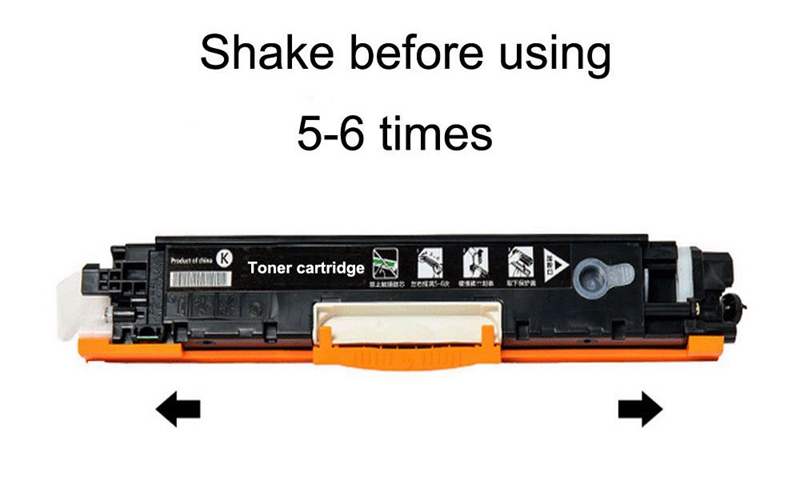
Unwrap the replacement toner cartridge from the protective bag and gently shake the toner cartridge 5 or 6 times as shown above to distribute the toner inside the cartridge evenly, and then put it on a flat surface.
Step 4: Pull the Sealing Tape
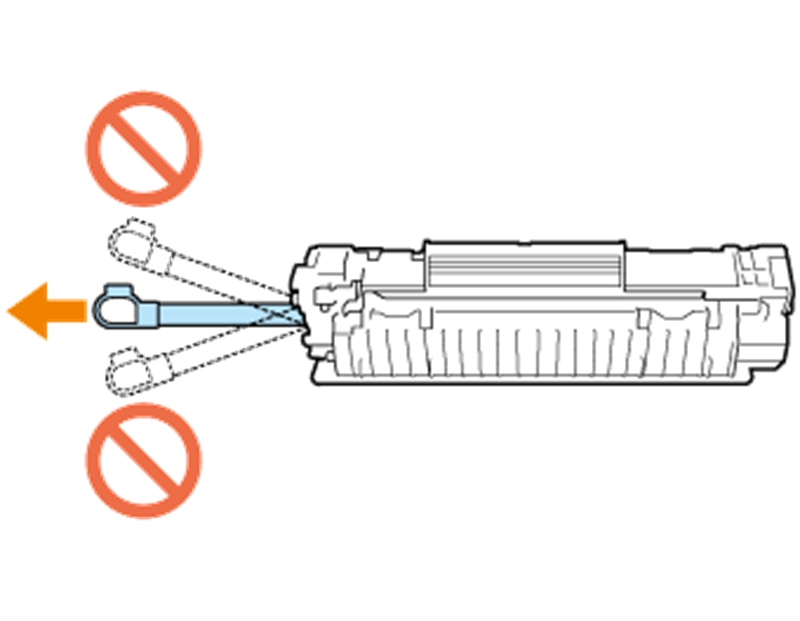
Pull the sealing tape straight out of the toner cartridge, and then remove the protective cover.
Note:
- Do not pull the sealing tape out at an angle or sideways. If the tape breaks, you may fail to pull it out completely.
- If the sealing tape gets stuck while pulling it out, keep pulling until it is completely removed.
Step 5: Install New Toner Cartridge
Insert the new toner cartridge into the housing unit and make sure the red arrow on the top of the cartridge aligns with the arrow on the printer.
Step 6: Close the Toner Cover
Close the toner cover and lower the operation panel. If you cannot close the toner cover, make sure the toner cartridge is correctly inserted. Forcing it closed may result in damage.
The above are some tips on how to remove toner cartridge from Canon printer and replace with a new one. If you have any other or any better ideas, you can feel free to share with us your opinions on our official Facebook (@tianse) or Twitter (@tianseoffice) account. You can also refer to your toner cartridge guides or visit support.usa.canon.com for more detailed information.
Post time: Feb-21-2019