Transparent labels and stickers look great on windshields, glasses and other transparent surfaces, but buying your own costs quite a bit. Luckily, you can make your own custom printed labels with heavy-duty packing tape and images you print on your home computer. After some internet research, we came across the following step-by-step guide on how to make labels with packing tape, allowing you to make homemade labels that are cute, customized, functional, and doesn’t cost you too much money.
Materials You’ll Need:
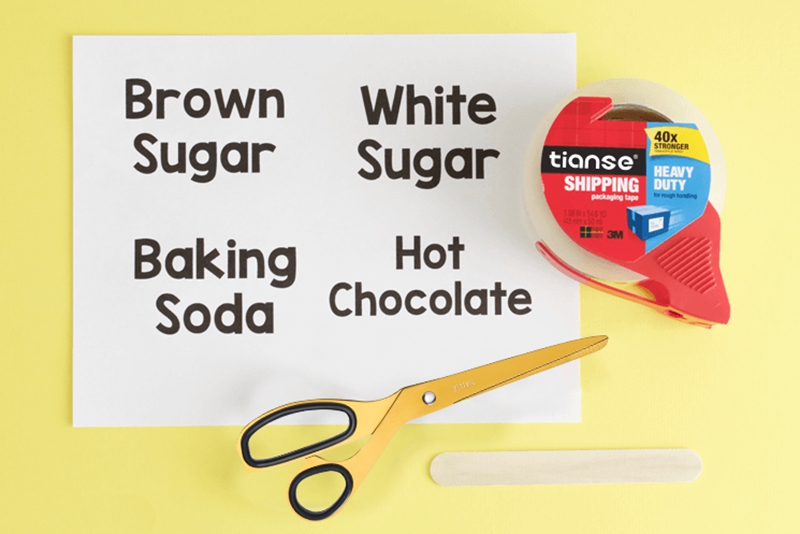
- Heavy-duty packing tape
- A pair of scissors
- Copy paper
- Laserjet printer
- Craft stick or other sturdy object with a flat edge
- A bowl of warm water
Step 1: Print the Words or Images for Your Label
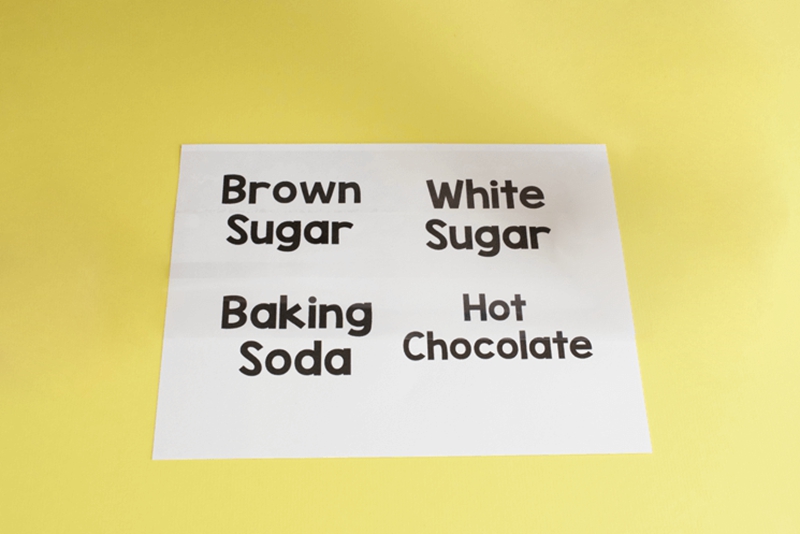
Start by printing your label design onto a sheet of copy paper. You can choose words, images, or whatever you want for your labels! Printing in black or grayscale creates the best labels, but you can also do it in color if you prefer.
Step 2: Cut the Tape and Apply It to the Image
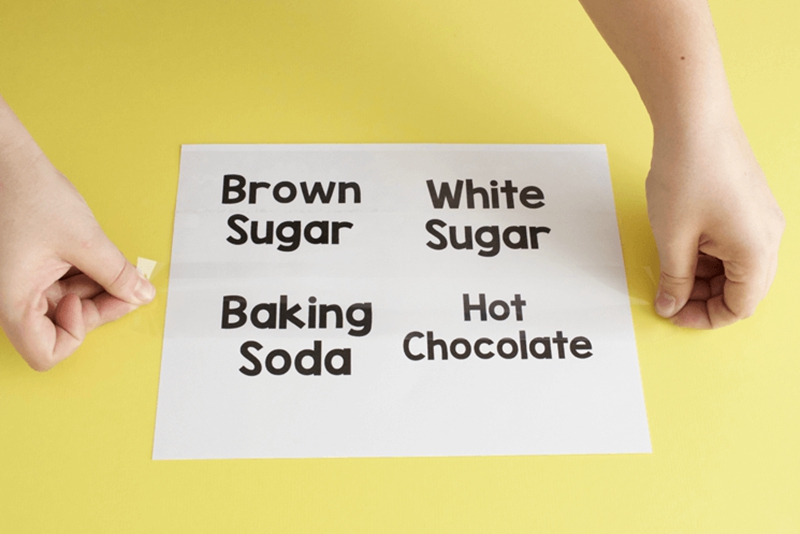
Cut a piece of heavy-duty packing tape approximately the size of your label and press it over the printed image. Make sure your custom printed label is not larger than your packing tape.
Step 3: Cut It with the Scissors and Smooth the Tape If Necessary
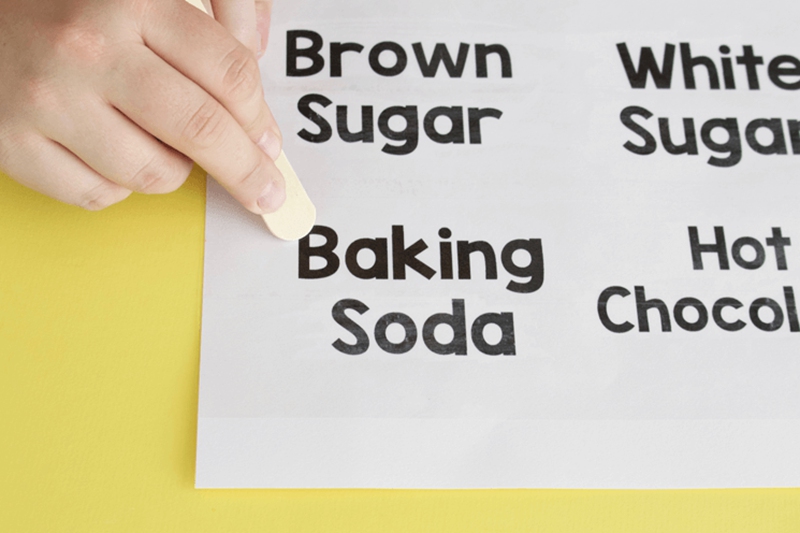
Use a pair of scissors to cut your labels down to whatever size you want them to be. Then take your craft stick, or something sturdy with a flat edge, and slide it across the tape to remove any creases or bubbles.
Step 4: Soak the Label and Rub the Paper Away
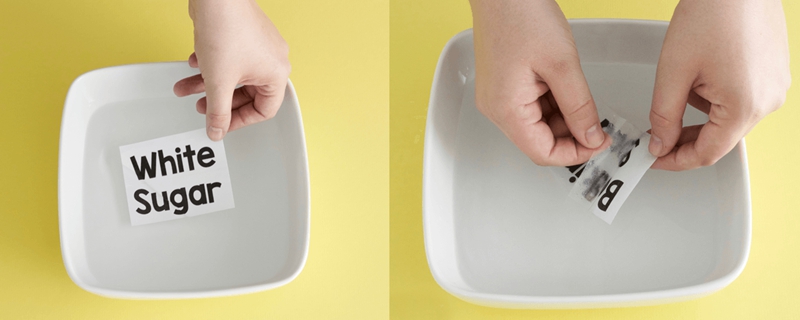
Place the labels in a wide, shallow bowl of warm water with the glossy side down and the paper facing up. Let them soak for 20 – 30 minutes, or until the paper will separate from the tape easily, and then carefully rub the paper away from the tape.
Step 5: Transfer the Tape to a Flat Surface and Let Dry
Transfer the tape to a flat surface with sticky side up, and let it dry for a couple of minutes. The tape will regain its stickiness when it dries out.
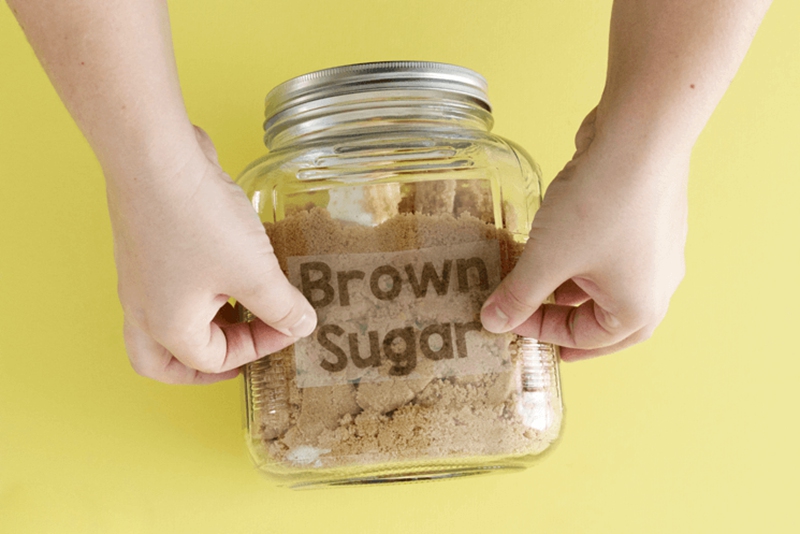
Step 6: Stick Your Labels Wherever You Want Them to Go
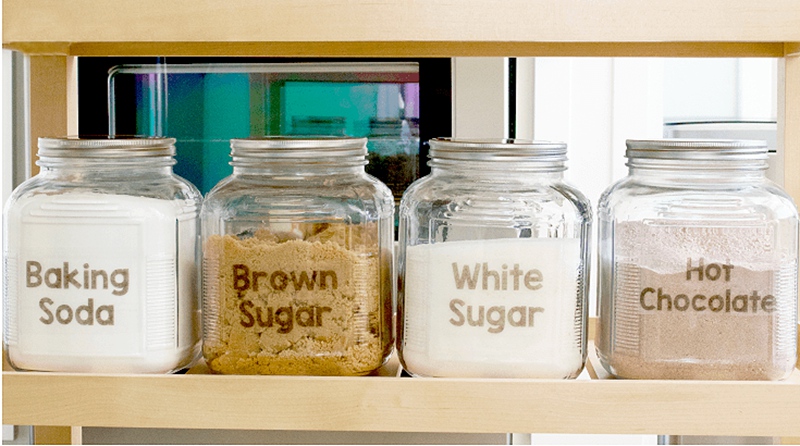
The final step is to stick your labels wherever you want them to go, for example. adhere the labels to your jars. They look pretty good on glass, but you can apply them to plastic or wood surfaces as well.
It’s really a very easy step-by-step guide for you to follow. You can use the above-mentioned 6 easy steps on how to make labels with packing tape to create your own custom printed labels, which will surely bring you a lot of DIY fun, save you a bit of money as frugal organization, and in the meantime facilitate your search and help you stay organized.
Post time: May-21-2019