Every now and then, you may experience some problems during 3D printing, resulting in ugly or failed prints. To figure out how you can improve these prints or avoid the same problems next time, we have specially summarized some common possible causes and proposed appropriate solutions on how to fix failed prints.
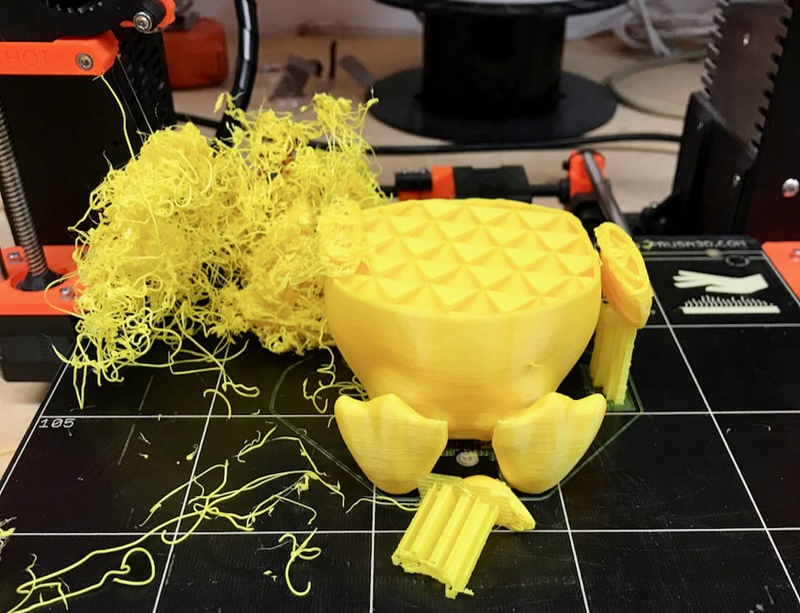
1: Filament Gets Tangled
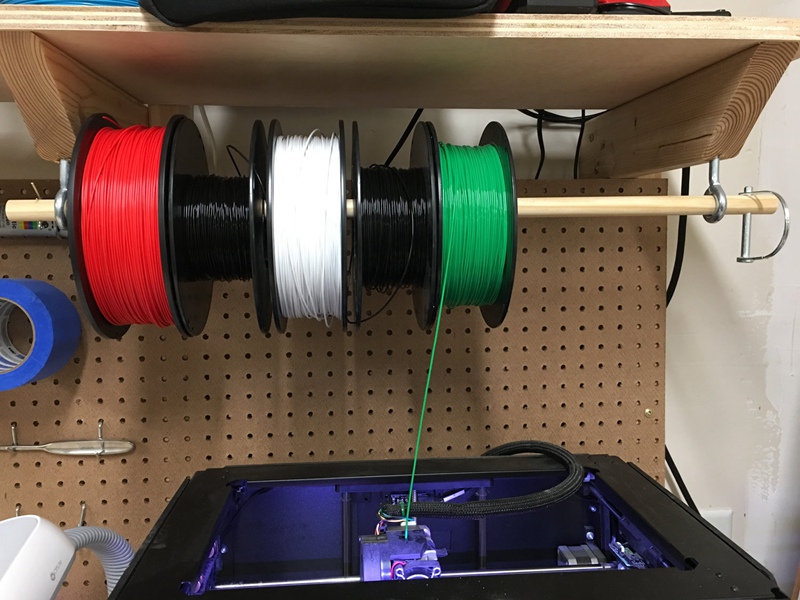
One of the most frustrating fails is when your 3D printer filament is looped under itself and tightens until it is not extruding altogether. The easiest way to fix this: when you change 3D filaments, always make sure to hold the loose end securely and put the spool in the box properly, so that the end will not slip under itself.
2: Bed Adhesion
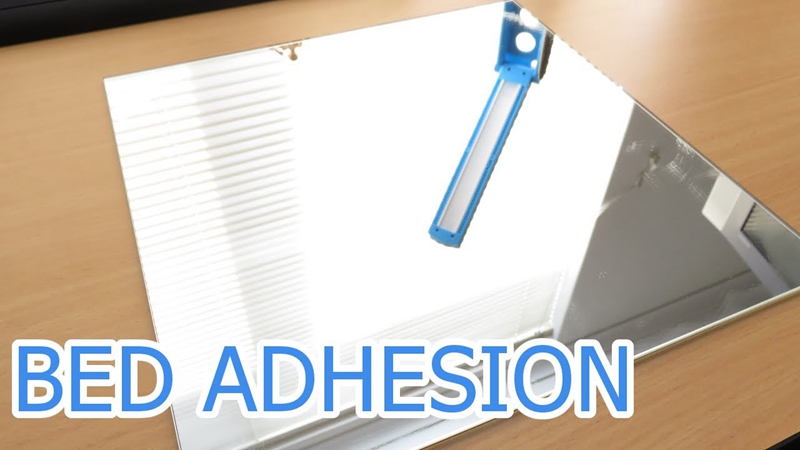
Bed adhesion is probably one of the most common causes any 3D print can fail. Since 3D printers work by building up 3D objects layer by layer, and if unluckily the layers come off the bed, you’ll most likely end up with plastic spaghetti rather than a clean printed part.
Three factors contribute to bed adhesion:
- Bed surface (PET tape, glass, or other types)
- Heat of the bed
- Material you’re printing with (PLA, ABS, TPU, or other materials)
For example, the best adhesion I’ve found for TIANSE PLA 3D filament consists of a 20-50 degree Celsius bed, while for TIANSE TPU 3D filament is a 20-70 degree Celsius bed. Of course, you can also use Blue Painter’s Tape, Kapton Tape, Elmer’s Glue or other tricks to help.
3: Under-Extrusion
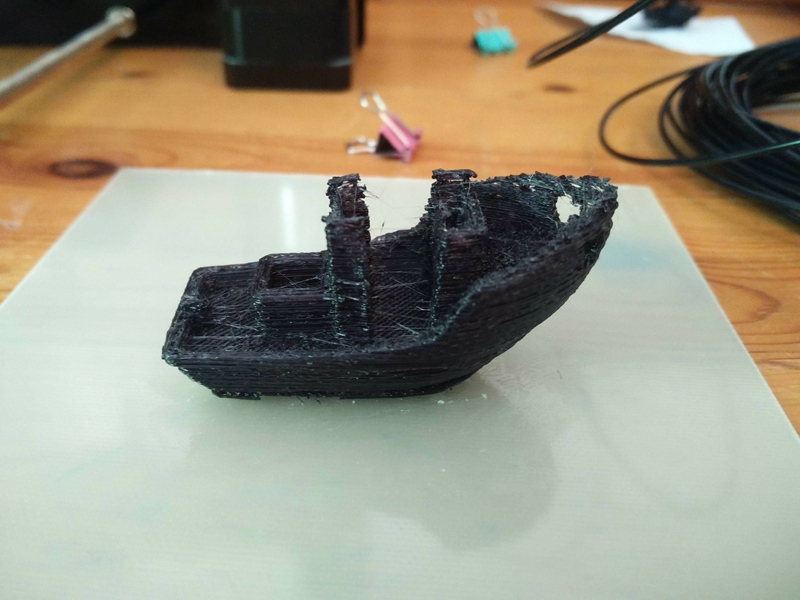
Another common fail is under-extrusion. Under-extrusion happens when the plastic coming out of the hot end is too cool. The layers are not hot enough to bond, and the print easily falls apart. The effective way to handle under-extrusion is checking for a clogged nozzle and increasing the hot end temperature. We recommend increasing it five degree a time until you get a part that has high strength and good nozzle flow.
4: Over-Extrusion
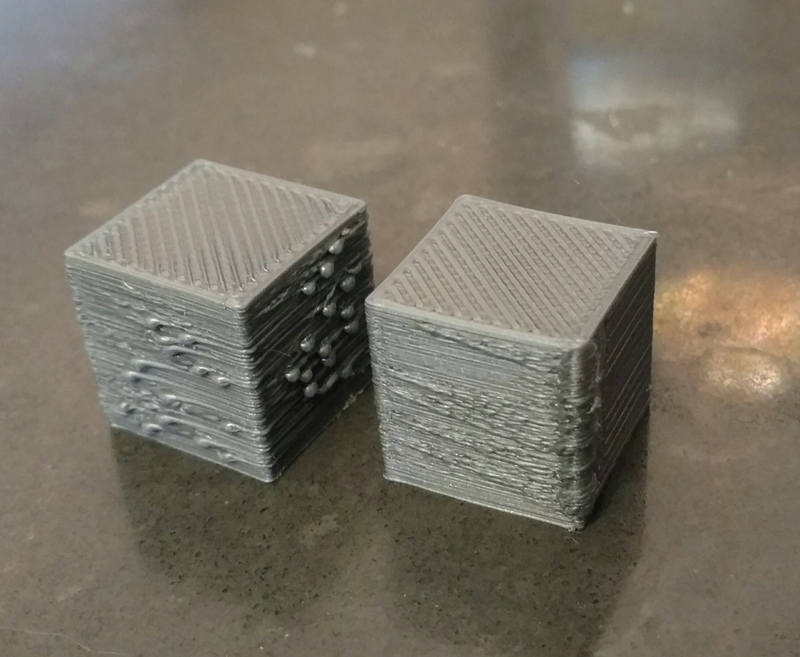
On the flip side of under-extrusion, over-extrusion happens when your 3D printer extrudes too much plastic too fast, leading to a jam in the end of the nozzle. This jam builds up more and more until the hot end stops extruding completely, leaving your print unfinished. You can use the following methods to prevent over-extrusion: a) Make sure you layer height is less than your nozzle diameter; b) Increase the power of the cooling fan as this will cool down the plastic and cause it to slow down.
5: Incorrectly Leveled Bed
For any 3D print, the bed must be perfectly level, otherwise numerous issues will arise during 3D printing, for example:
- Your part will not bond to the build plate;
- Your part may warp;
- The print will easily fall apart;
- The print may have blobs on the Z layers;
A correctly leveled bed is essential for quality prints. Therefore, do keep in mind to level your build plate.
6: Practice Makes Perfect
(Source: juha3dbar/Instagram)
3D printing is amazing for the most of the time, however, it can still get frustrating moments. Just as the saying goes, “Practice Makes Perfect”, it is the same case with 3D printing. Each time you fail, figure out what happened based on trial and error, and prevent that from ever happening again.
There are lots of things that are cool about 3D printing. It enables us to handle any level of complexity and opens many new possibilities. The things we can make are limited only by our imaginations. Though we may experience some frustrating moments, just do not let them upset you, and try your best to figure out certain patterns and solutions to improve your prints. We hope you can learn something from 6 tips on how to fix failed prints. Happy 3D printing!
Post time: Mar-29-2019