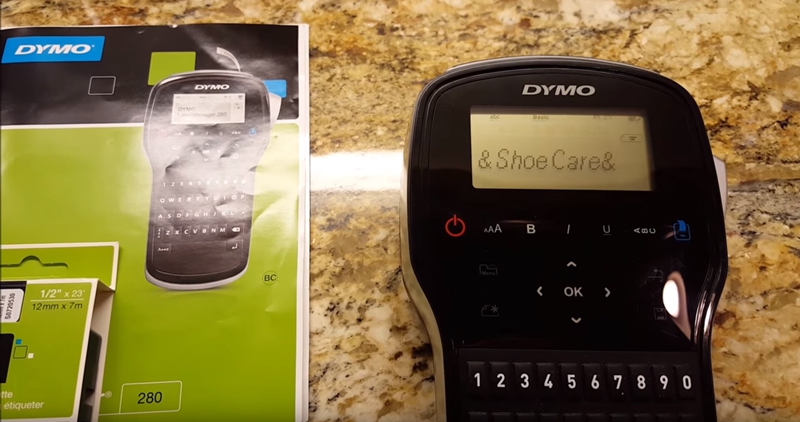
As one of the most popular brands of label makers, DYMO is widely used in many kinds of places. Whether it’s for your office, home, work-site, warehouse, or even classroom, DYMO is sure to meet and exceed your labeling needs. Once your DYMO label maker runs out of labels, a new label tape cassette needs to be inserted. In this article, we’ll introduce you 5 easy steps on how to change the tape in a DYMO label maker.
1. Open the Label Maker
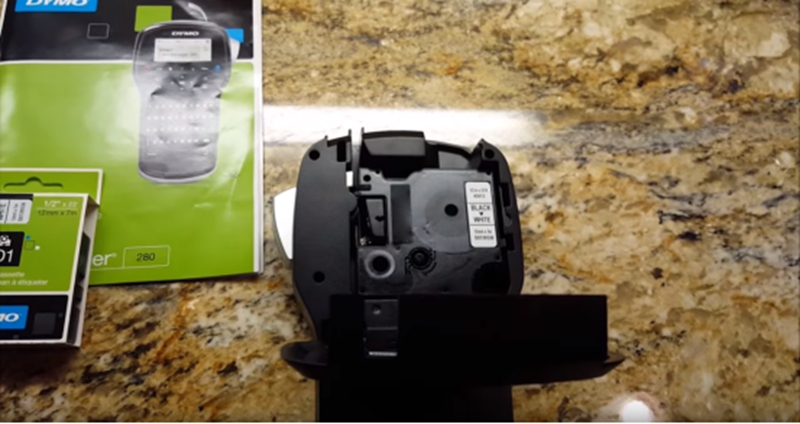
Press and release the tape cassette cover to open the tape compartment of the label maker.
2. Remove the Old Cassette
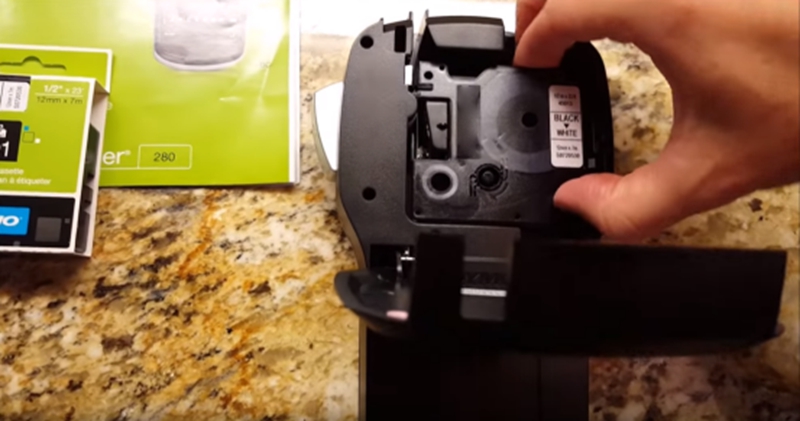
Remove the old cassette from the label maker.
3. Insert the New Cassette
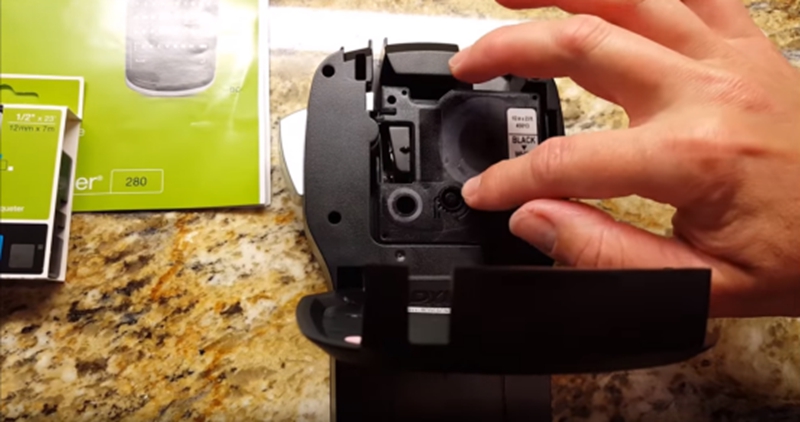
Insert the new label tape cassette and press firmly until the tape cassette clicks into place.
Note: Make sure that the tape and ribbon are taut across the mouth of the cassette and that the tape passes between the guideposts. If necessary, turn the spool clockwise to tighten the ribbon. Also make sure the labels on the tape cassette are facing outward.
4. Close the Cassette Cover
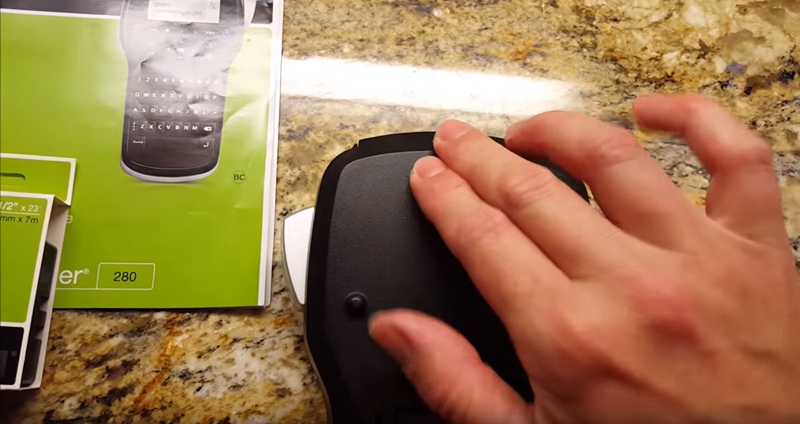
Close the label tape cassette cover and press power button to turn on the power.
5. Print A Test Label
Print a test label to make sure the label tape cassette is properly installed inside and facing the correct direction.
A good label maker prints clear, durable and water-resistant labels that make it easy to access files, tools, charts, and more, which is always a good assistant for home and office organization, helping you keep projects on track. The above-mentioned steps are just a generalized guideline on how to change the tape in a DYMO label maker. For more specific steps or more details related to label makers/label printers from other brands, please refer to your label maker/label printer documentation.
Post time: May-14-2019